Hi,
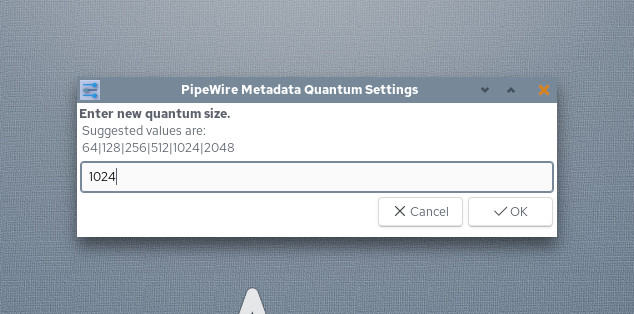
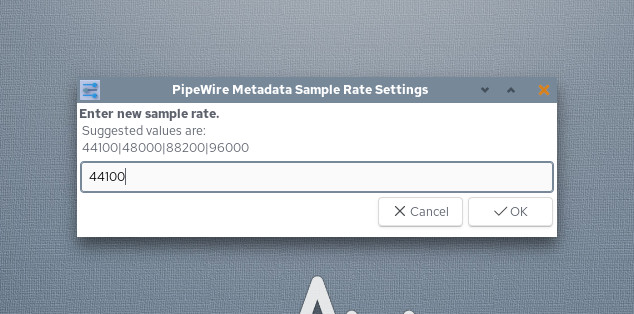
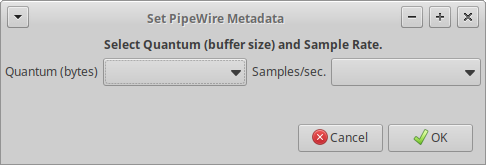
There are a few Pipewire setting UI’s out there now, many of them use python or QT stuff which is all good but I like the simplicity of YAD so here is a simple YAD frontend to set Pipewire ‘pw-metadata’ quantum (buffer) and sample rate and then confirm your new settings. It requires you to have YAD installed which is often included by default in most Distros. I’m working on organizing various PipeWire tools for the next AV Linux so this is just a broken out piece in case anyone finds it useful. To use it copy the code text into a file and call it whatever you like and make it executable. Doubtless there are many people here with much better script-fu than I and I don’t pretend this is anything brilliant so if you are more accomplished with YAD scripts go wild!
#!/bin/bash
#Simple Yad Frontend to set Pipewire metadata
#broken out from AVLinux PipeWire Tools

buffer=\
`yad\
 --entry\
 --height=128\
 --width=400\
 --center\
 --title="PipeWire Metadata Quantum Settings"\
 --window-icon=preferences\
 --text="<b>Enter new buffer size.</b>\n Suggested values are:\n 64|128|256|512|1024|2048"\
 --text-align=left`\

pw-metadata -n settings 0 clock.force-quantum $buffer

samplerate=\
`yad\
 --entry\
 --height=128\
 --width=400\
 --center\
 --title="PipeWire Metadata Sample Rate Settings"\
 --window-icon=preferences\
 --text="<b>Enter new sample rate.</b>\n Suggested values are:\n 44100|48000|88200|96000"\
 --text-align=left`\

pw-metadata -n settings 0 clock.force-rate $samplerate


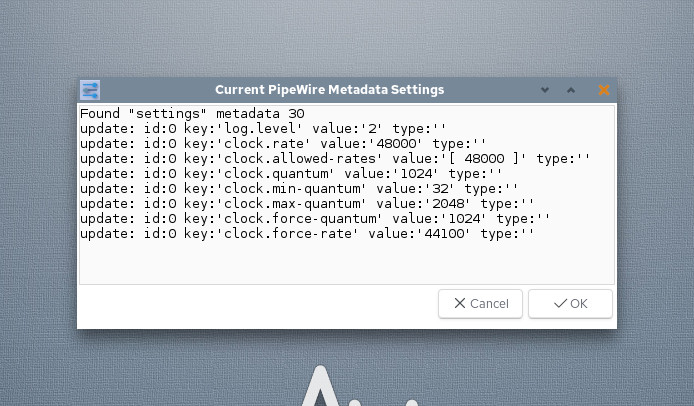
pw-metadata -n settings 2>&1 | yad --text-info --width=540 --height=220 --center --window-icon=preferences --title="Current PipeWire Metadata Settings"

exit
It will (or should) look something like this:


